Attaching an Approval Workflow to an Existing Catalog Item
Approval workflows, which are applied to catalog items, define how a request will be routed for review. In each step of an approval workflow, a user or group reviews the request. Workflows are defined and listed on the Workflows View , which is opened by selecting Workflows under Site Management on the Admin tab.
In this section, you will learn how to attach an approval workflow to a catalog item.
For information on creating an approval workflow, see Managing Approval Workflows. As an alternative to manually associating both an Approval Workflow and Question Template to a catalog item, you can instead create a Catalog Item Template that has an associated approval workflow and question template, and then just assign the Catalog Item Template to the catalog item. See Creating a Catalog Item Template.
To attach an approval workflow to a catalog item, perform the following steps:
To attach an approval workflow to a catalog item:
- Open the Admin tab.
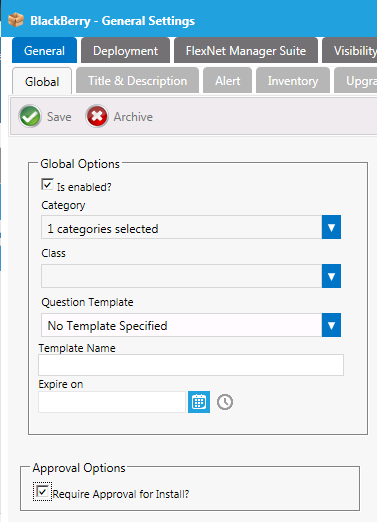
- Select Current Catalog Items > View All Items and double-click on the catalog item that you want to modify. The General > Global tab of the Catalog Item Properties dialog box opens.
- Under Approval Options , select the Require Approval for Install? option.
- Open the Approval Process > Workflow tab.
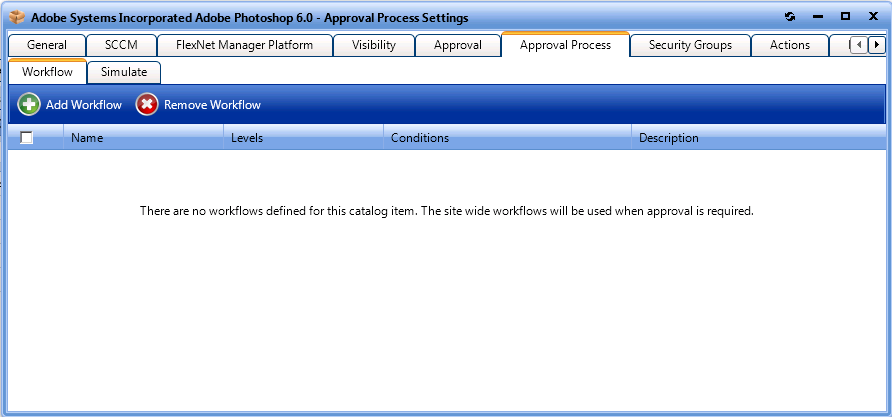
- Click Add Workflow . A pop-up dialog box opens, prompting you to select a workflow.

- From the Select a workflow to add list, select Manager Workflow and click Add Selected Workflows . The workflow is now listed on the Workflow subtab of the Approval Process tab.
- To view a simulation of the approval process for this catalog item, open the Approval Process > Simulate subtab.
- In the Enter a user ID in Domain\name format or a computer name field, enter your domain and user name and then click Show approval process . The levels in the selected approval workflow are listed:
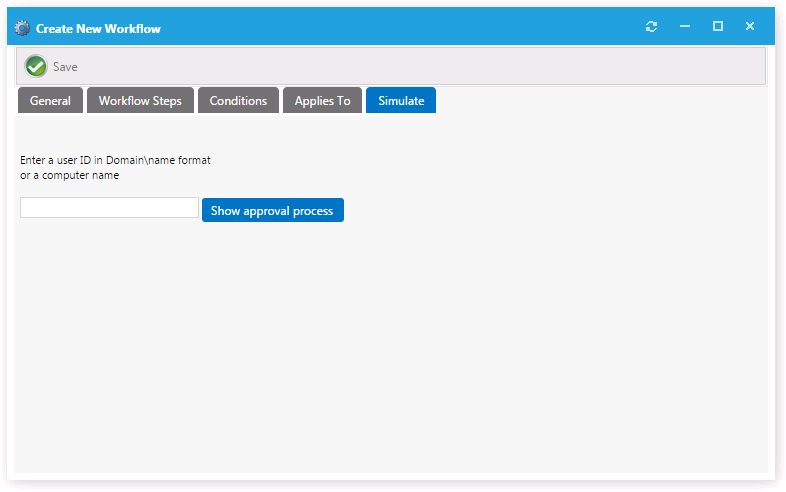
- In this example, the selected Manager Workflow only included one level, which was defined as the end-user’s manager.
- Close the Catalog Item Properties dialog box.
-
For more information on workflows, see Managing Approval Workflows.
-